
If you have an ugly, upright pipe in your house, consider turning it into a tree, like I did to this one!
My Mom’s Pipe
A while back, I gave one of the bedrooms in my mom’s house a facelift. It contained a pipe that she did not want removed. Her house is over 100 years old, and the pipe was originally part of one of the heaters in the house. The heater has since been removed, but the pipe remained, and is a permanent fixture in one of the upstairs bedrooms. My mom wanted it left there in case she ever decides to install another heater.
Instead of painting the pipe (which my mother did not want me to do), I chose to get creative and turn it into a tree. Given that it is winter for the majority of the year where we live, this solution was a great one, as now it is “summer” all year ’round in that bedroom!
Note that I had painted the bedroom first, then installed new carpeting after the room was painted. Turning the pipe into a tree was merely for decorative purposes only.
How to Turn a Pipe into a Tree: A DIY Tutorial
Here is my do-it-yourself solution for covering a pipe in my mother’s home.
Here what the pipe looked like before it was covered:


Here are some of the materials I used to cover the pipe (four sheets of black bristol board, and five leaf fronds, purchased from the flower/art department in Wal-Mart):


I also used scissors and duct tape. I wasn’t sure if I was going to need or use the glue, but I took a picture of all three together:

The stems of the leaf fronds were flexible enough that I could bend them wherever I wanted to:

A Step-by-step Tutorial for Turning a Pipe into a Tree
I began at the top of the pipe, by covering it with a layer of black bristol board, using black duct tape to affix it to both the ceiling and the pipe:


I then began adding the leaf fronds to the pipe, using the black duct tape:

I added a second one:

And then a third:

I continued adding them until all five were attached, spacing them evenly and aesthetically:

The underside, however, was not very aesthetically pleasing! In fact, it was a mess! However, it was going to be covered by more bristol board, so I wasn’t worried. 😉
See, it’s looking better now!

I continued covering the remainder of the pipe, working my way down to the carpeted floor, until the whole pipe was covered in black bristol board:

Now that it’s starting to look like a tree, I wanted to give it some added texture. I had found some coffee cups that were covered in brown, textured, shiny cardboard, so I removed the cardboard from the cups and then taped them together.


I then cut them in half, to make more strips to add to the trunk of the tree:

Here you can see that I had many strips to add:

You can see that I spaced them somewhat evenly apart on the trunk of the tree:

I didn’t fit them all onto the tree, so I cut small, random shapes out of the remaining strips, and then simply taped them onto various places on the trunk. I could have glued them, I suppose, too. However, I used black duct tape.
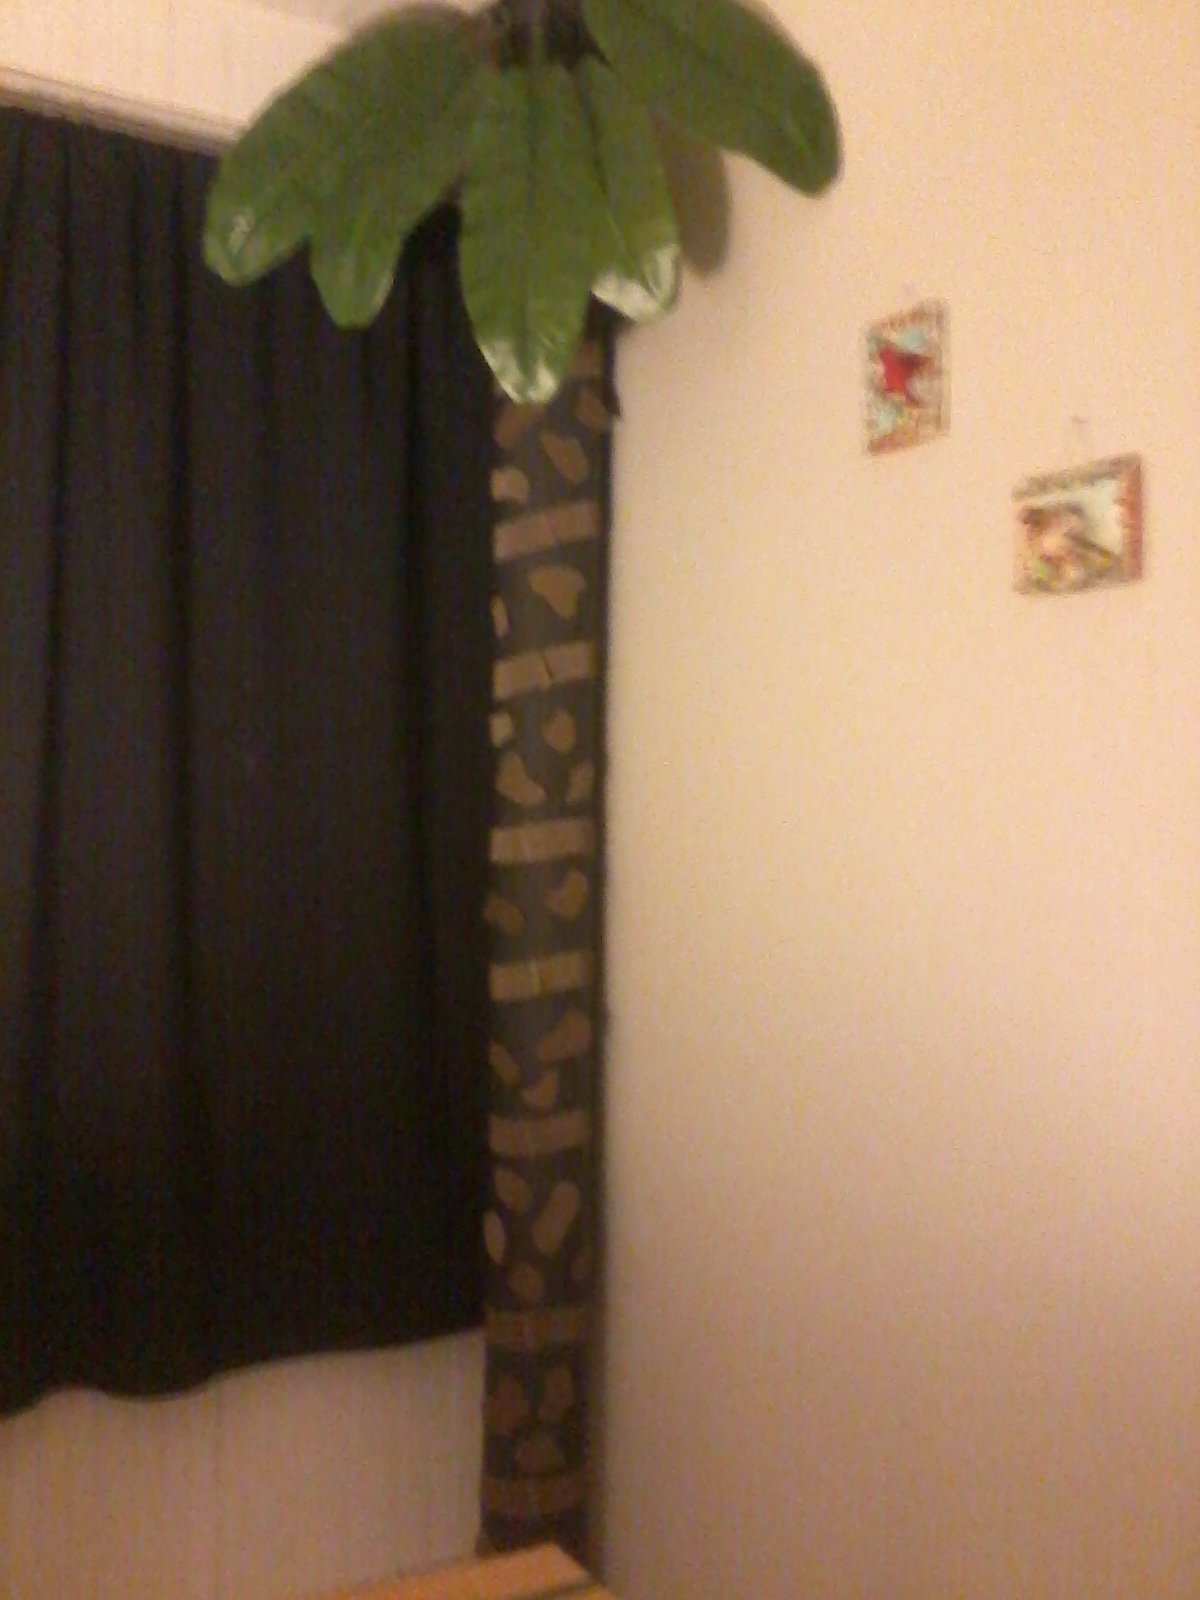
The Finished Tree
Here are a few pictures of the finished product!


I think this tree looks much better than an ugly pipe, don’t you?

Great idea and you did a very good job. Did it cost a lot of money to buy the materials?
Jo Ann, each leaf cost about $5 at Walmart, and each piece of bristol board was $1. The coffee cups I purchased for the cardboard were $2, and I already had black duct tape and scissors, so I think the total cost was under $15 for everything, including taxes!
I think covering the pipes was a great idea. I love my tree!
That is so inventive, Lorraine! Very cool idea. I am sharing this one on Twitter and Pinterest today 🙂
Thanks, Christy! On all counts! 😉
I love how the tree turned out!
Hi Lorraine ma’am,
Wow! You are so creative. It really looks so fantastic. Definitely sharing on Pinterest. I hope you are enjoying your weekend. 🙂
– Rohan.
Thanks, Rohan — for the compliment AND for sharing. 🙂